Thinking About Trying Press on Nails?
I've been seeing many people finally coming over to the fun side! However, I have seen many people ask about durability, why their nails are breaking (because they're not mine!), and general sizing and retention tips. I'm here with some tricks and tips, and what I do to keep my nails on. I truly endeavor for my sets to feel like you went to the salon without the tedious hours and the breaking your pockets.
I am confident in my work and the durability of my nails, so I'm going to leave some tips below to keep your nails on as long as they can be!
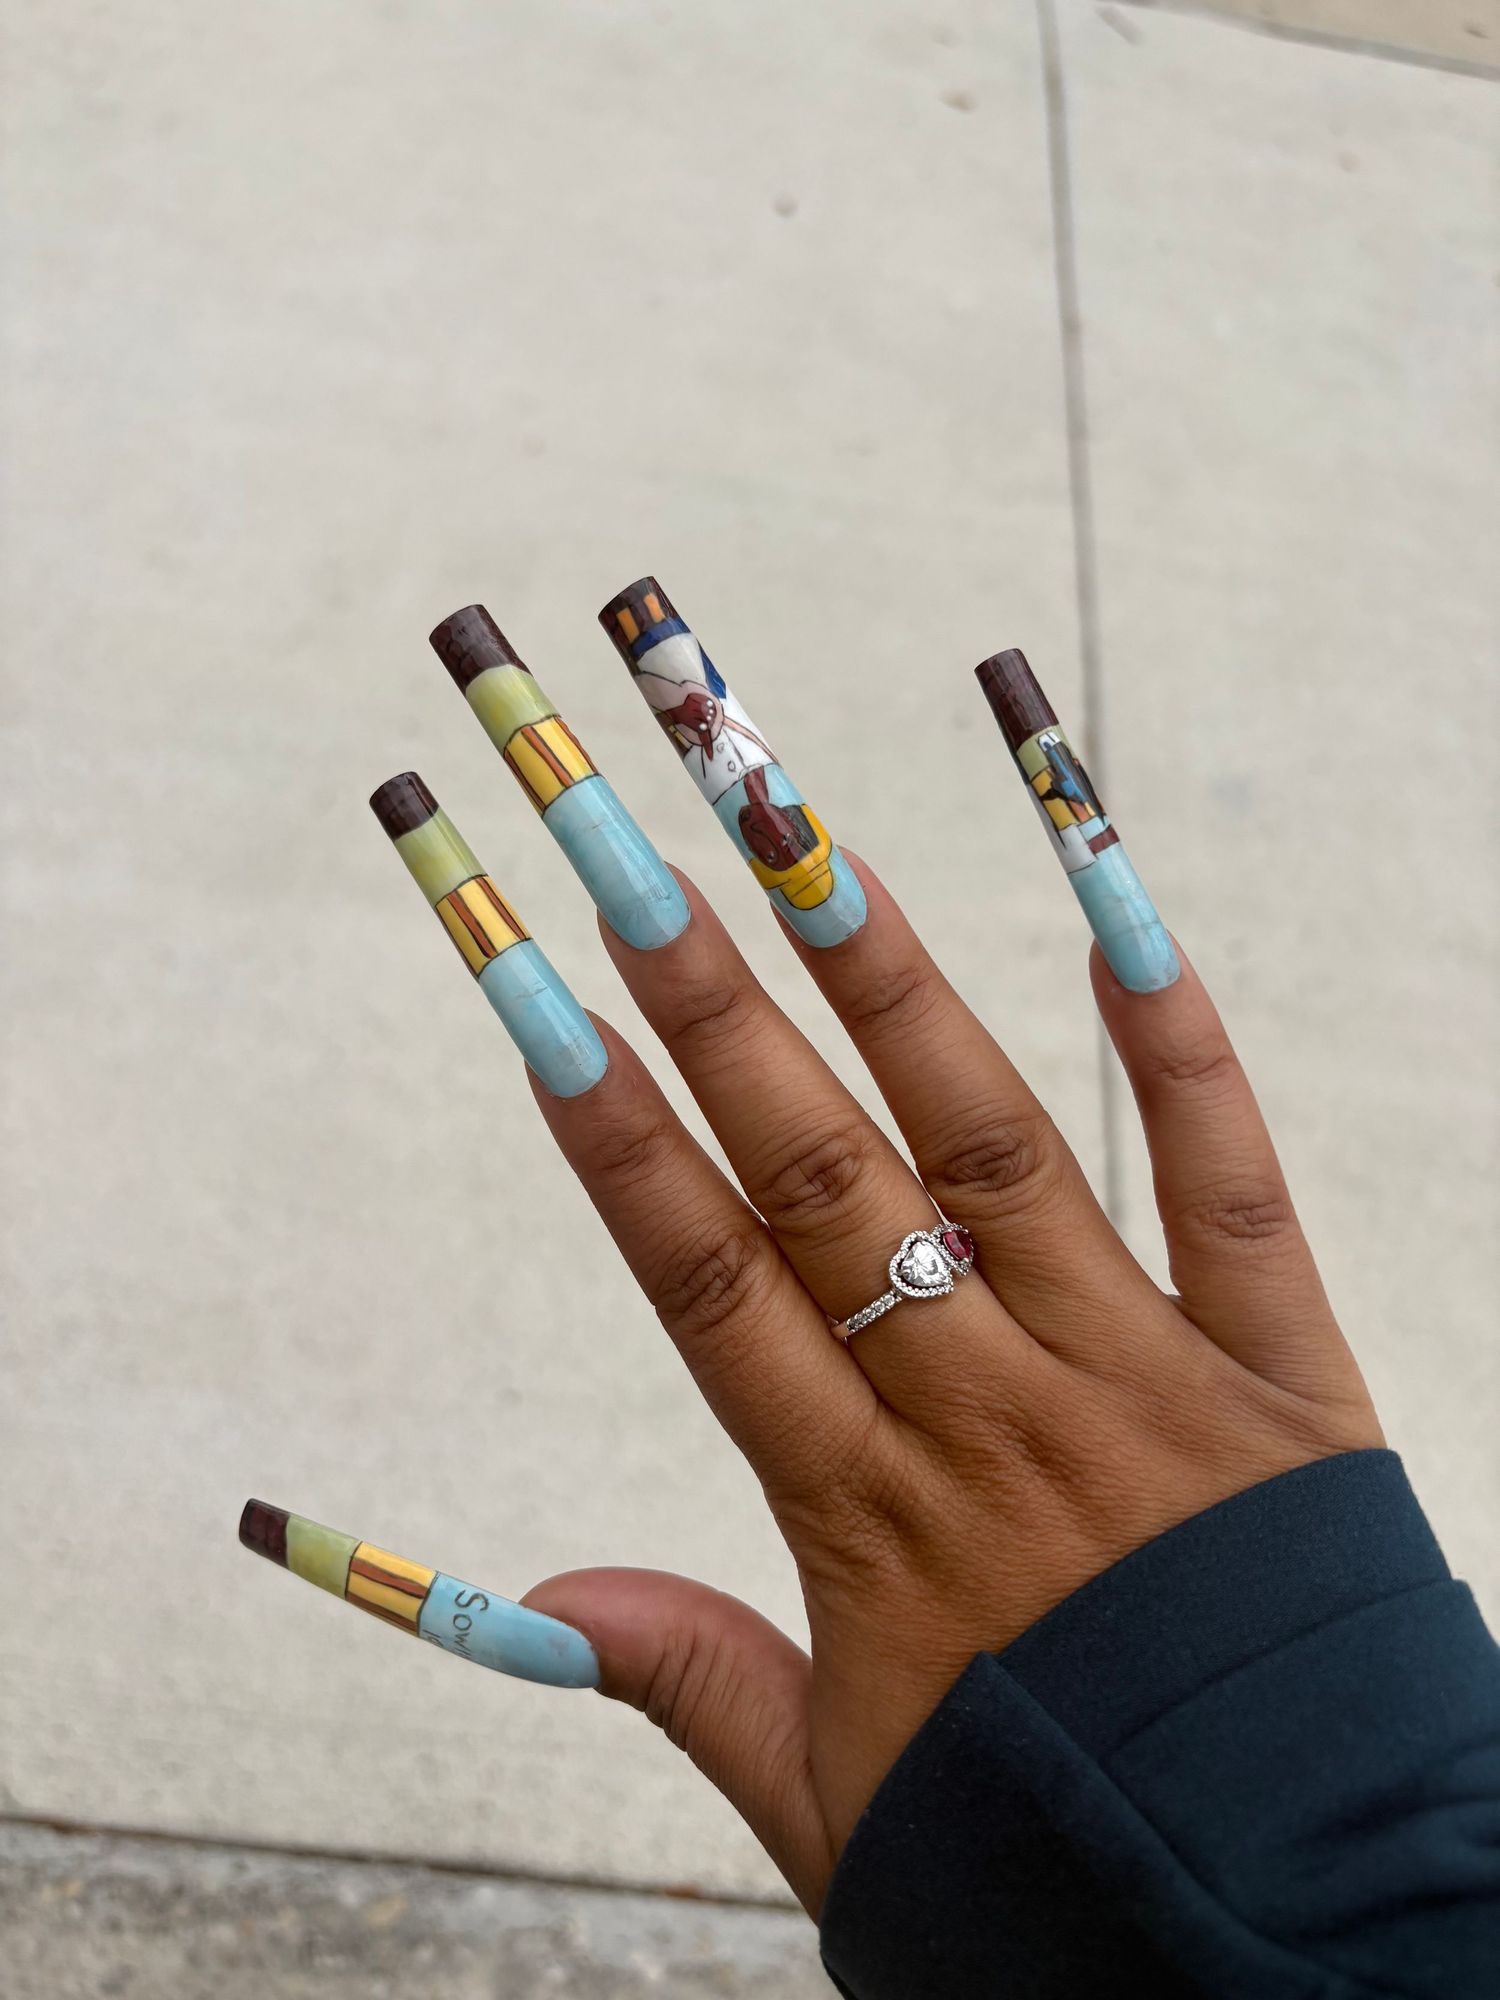
Sowing Gel Press on Nails
Sizing Your Nails
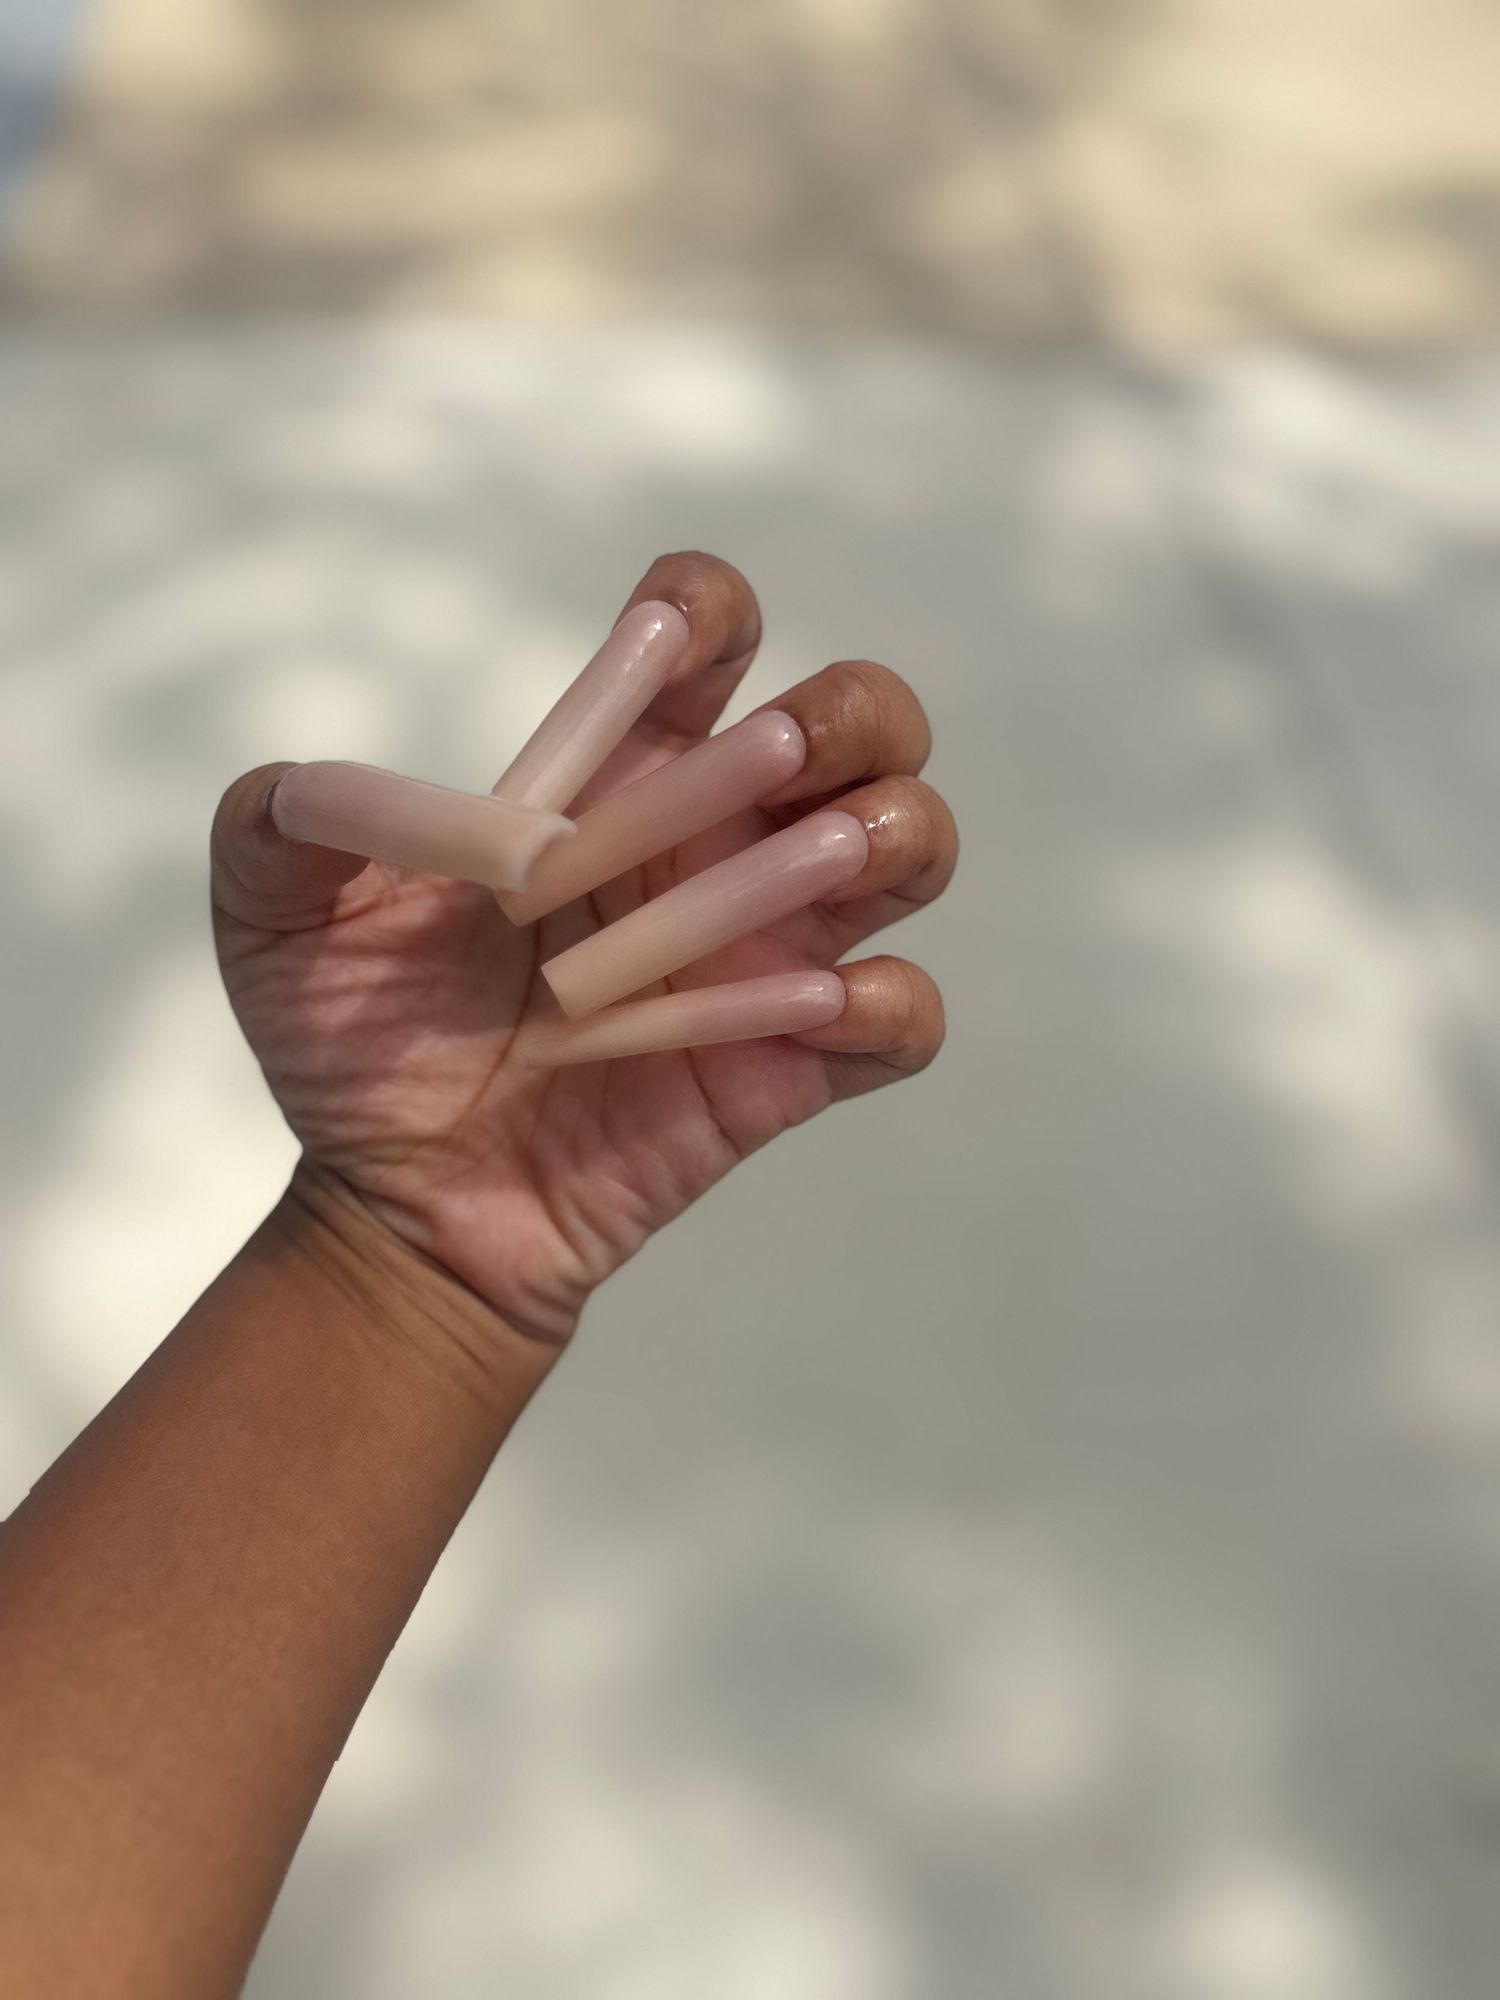
Once I discovered press ons didn't need to LOOK like press ons I was ecstatic. I felt like a common theme I saw in the press on nail community at first was "if they're press on you're going to be able to tell", and personally some of the professional press ons I saw did indeed look like press ons. Then I realized some of my nails sold were looking like full sets. That's when I figured out, my press ons are too big! Since I was making acrylic sets the press on would get wider, thus spilling OVER my nail bed. So, if you are just getting into making press on nails (that will be a subsequent blog post!) keep that little tidbit in mind. To fix that issue, I sized down the nail and once the acrylic was applied it fit to the nail. Personally, I have a size chart that shows the sizes of my nails, and when a customer is unsure of what their size is we use the TikTok dime method. Most people wear the average sizes I have mapped out in Small, Medium, and Large. Your nails must fit sidewall to sidewall while simultaneously not spilling over your nail bed. A proper fit will allow the nail to lay flush to your nail bed to prevent things like hair being caught underneath your press on, or oil and soap loosening your press on prematurely due to everyday activities. As a stay at home mom, the last thing I want to do is to have to keep track of my nails while I'm shoving my hand in the hamper to pull out piles of clothes!

The Size Chart
Applying Your Nails
Putting on my nails are my second favorite part of my press on nails. The first is making them, obviously! The only thing I do differently from my customers when I put on my nails is use an e-file to buff my nail beds, but when I'm in a rush I also use a regular file. I do this because I know that many of my customers won't have things like a dehydrator, bond and primer. I endeavor to cater to the moms, professionals, students, who don't have the tools or talent of a nail salon. My nails are meant to be a full set in minutes, no stress and minimal work. Here are the steps I take when applying my own nails. Disclaimer: I HAVE used my small nail file to buff my nails just to be sure it works well!
- Push Your Cuticles Back - Use an orange stick, or a cuticle tool to push your cuticles back. You can also use your thumb nail, but if you bought a pair of xPRESSive Nails then you won't have to! Don't forget to clean under your nails with the pointy end too!
- Buff Your Nails - Use your preferred method of filing to buff your nails. This means the entire surface of your nail bed will be scratchy white. There should be no shine visible at all. Pro Tip : Buff along your cuticles after you've pushed them back in lieu of cutting them!
- Apply Your Glue - Take all of the nails off of the sticky tab and keep them in order for ease with your application. For longer retention I recommend covering your nail bed with glue, and flip your press on and put some glue in the well of the nail.
- Apply the Press on - This part is the most important in my opinion! Your nails can last a long time with little prep with how well you actually put your nails on. Make sure your nail sits right up under your cuticle, NOT over it because it will lift prematurely. Make sure you are HOLDING the nail straight as you place it on your nail bed, if you did all the steps right it will be VERY hard to fix your nail if you apply it crooked. Absolutely speaking from experience, if you have crooked nail beds like I do and you don't want your nail to look crooked put your finger straight forward and lay the nail on top of the nail bed ensuring it's completely straight. You may see a little bit of your nail bed on the sides, but honestly it comes down to what you prefer.

Example of Nail on a Crooked Nail Bed
Nail Straight on Crooked Nail Bed - I Had to Fix it a Few Days Later
Removing Your Nails
I recommend using warm water, oil, and soap in a bowl to lift and ultimately pop off your nails. I must say that I do not remove my OWN nails properly. I truly do not have the patience, and if you are the same, the only thing I use is a metro card - stronger than a business card and plastic but around the same thickness. If you can find something that durable and thin to slide under your nails it is the "easy" pop off method. I will warn you though, if your nails are not ready to lift and you force the nails off you will break the nail at the top of the nail bed if it is a gel set because of the strength of the glue... also speaking from experience! The soak off method does take quit a while but it is better for the overall health of your natural nails.
Reuse
All of my nails are reusable. If you glue your nails neatly, it should not leave much glue residue underneath the nail. if so you can use the long side of the file to try and remove it, and sometimes I just scrape the excess off with my fingernails. However, the neater your application, the longer your retention AND the less crunchy glue you have to contend with! I've made all the mistakes with my nails so you don't have to!
Miscellaneous Tips
Some other helpful things you need to know for the best time with your nails!
- Do NOT wash your hands directly before, or directly after applying your nails, it leaves a white reside which is super annoying because we're going for the perfect salon look.
- After you apply the glued nail to your nail bed HOLD for 30 seconds! It seem ridiculous and excessive but its the best to really mold the nail to your nail bed- you can feel the difference!
- If you plan to keep your nails on for only an occasion or a shorter period of time, only apply glue to your nail bed. Still hold for 30 seconds because we don't want to LOSE our nails!
- Always carry your glue. Everyone is different, and my nails are durable, however if you work with water, oils, etc often that will loosen your nails over time. When you leave the house just carry your glue and be MINDFUL of your hands.
- There is a learning curve, I had to learn how to make and how to wear press on nails. I realized I was really rough with my hands so I used to smash my fingers into doors, drawers, the wall, poke myself in the eye and everything! Of course my nails are sturdy and haven't broken from a door slam (luckily for me) but they are not infallible and will break with certain force, as all nails do.
- xPRESS yourself! Step out of your comfort zone and get something you normally wouldn't! The nails are press on, you can always pop them off. I always say, you don't have to commit! Sometimes I love my nails immediately, sometimes it takes literally 2 days for me to decide they're cute.
- Beware becoming completely obsessed with press on nails. I started wearing press ons and haven't looked back since then. I've gotten so much better, and I am still elevating my technique and products whenever I can so I am always giving luxury that lasts.
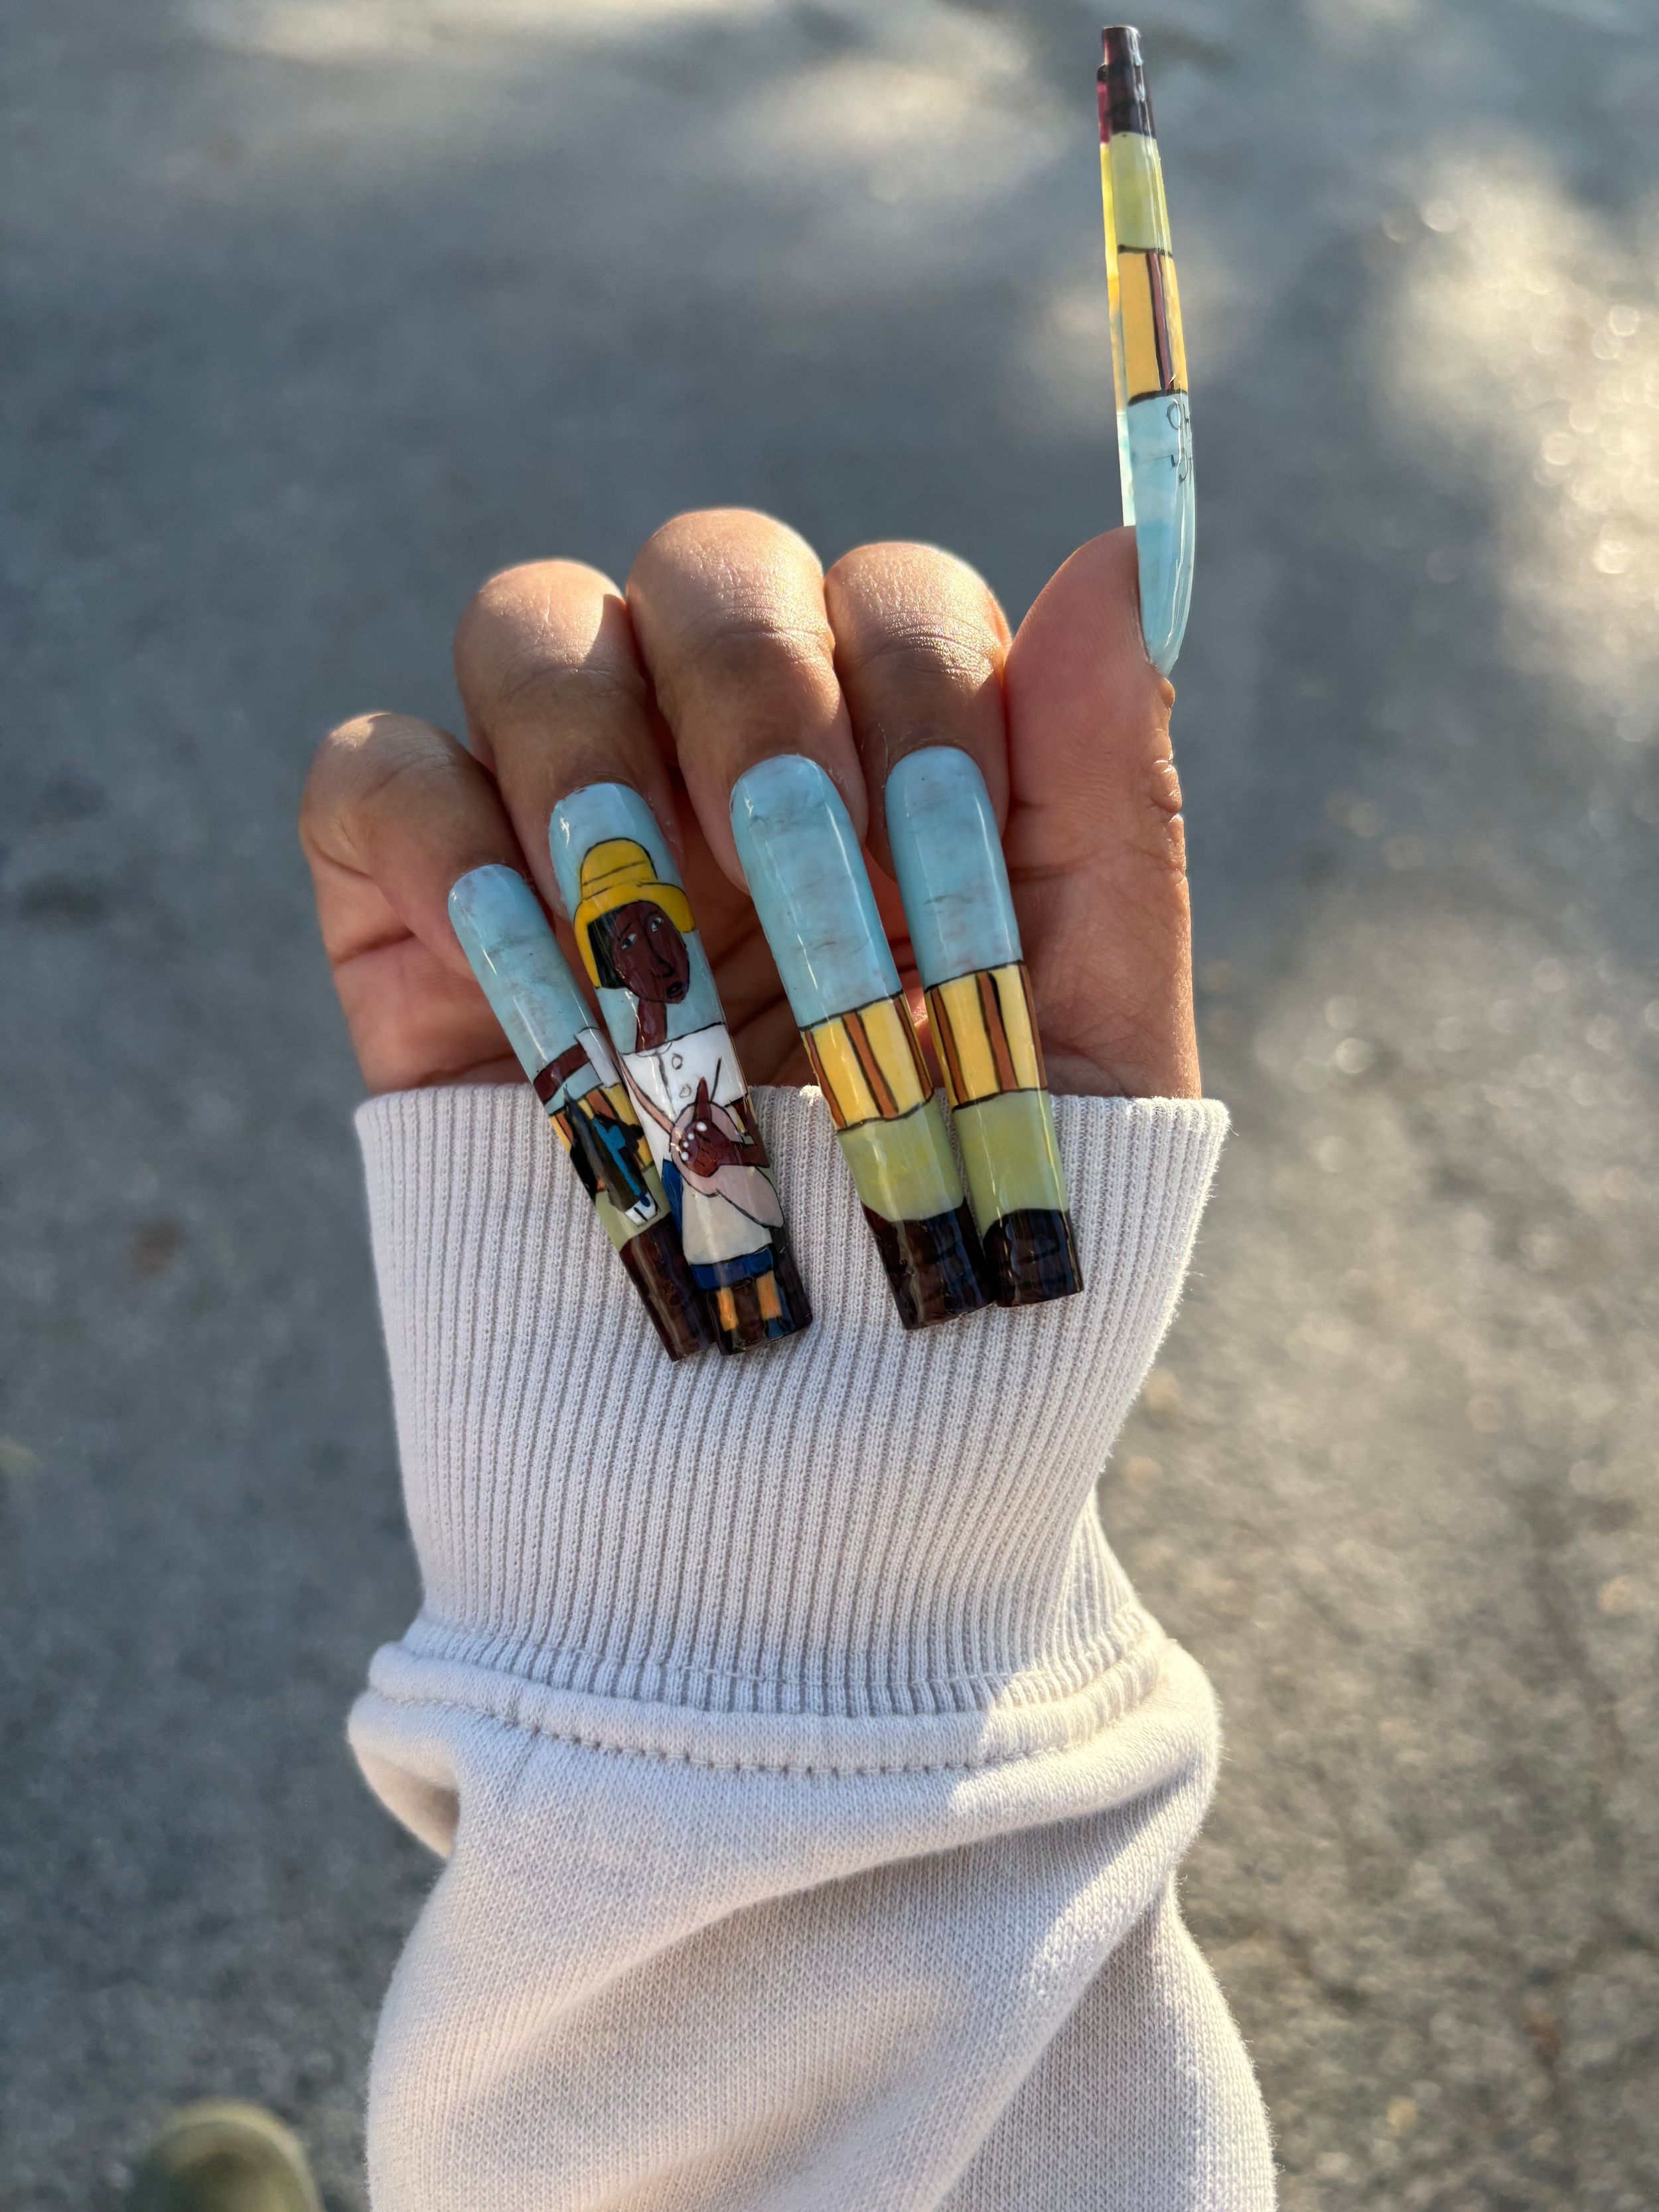
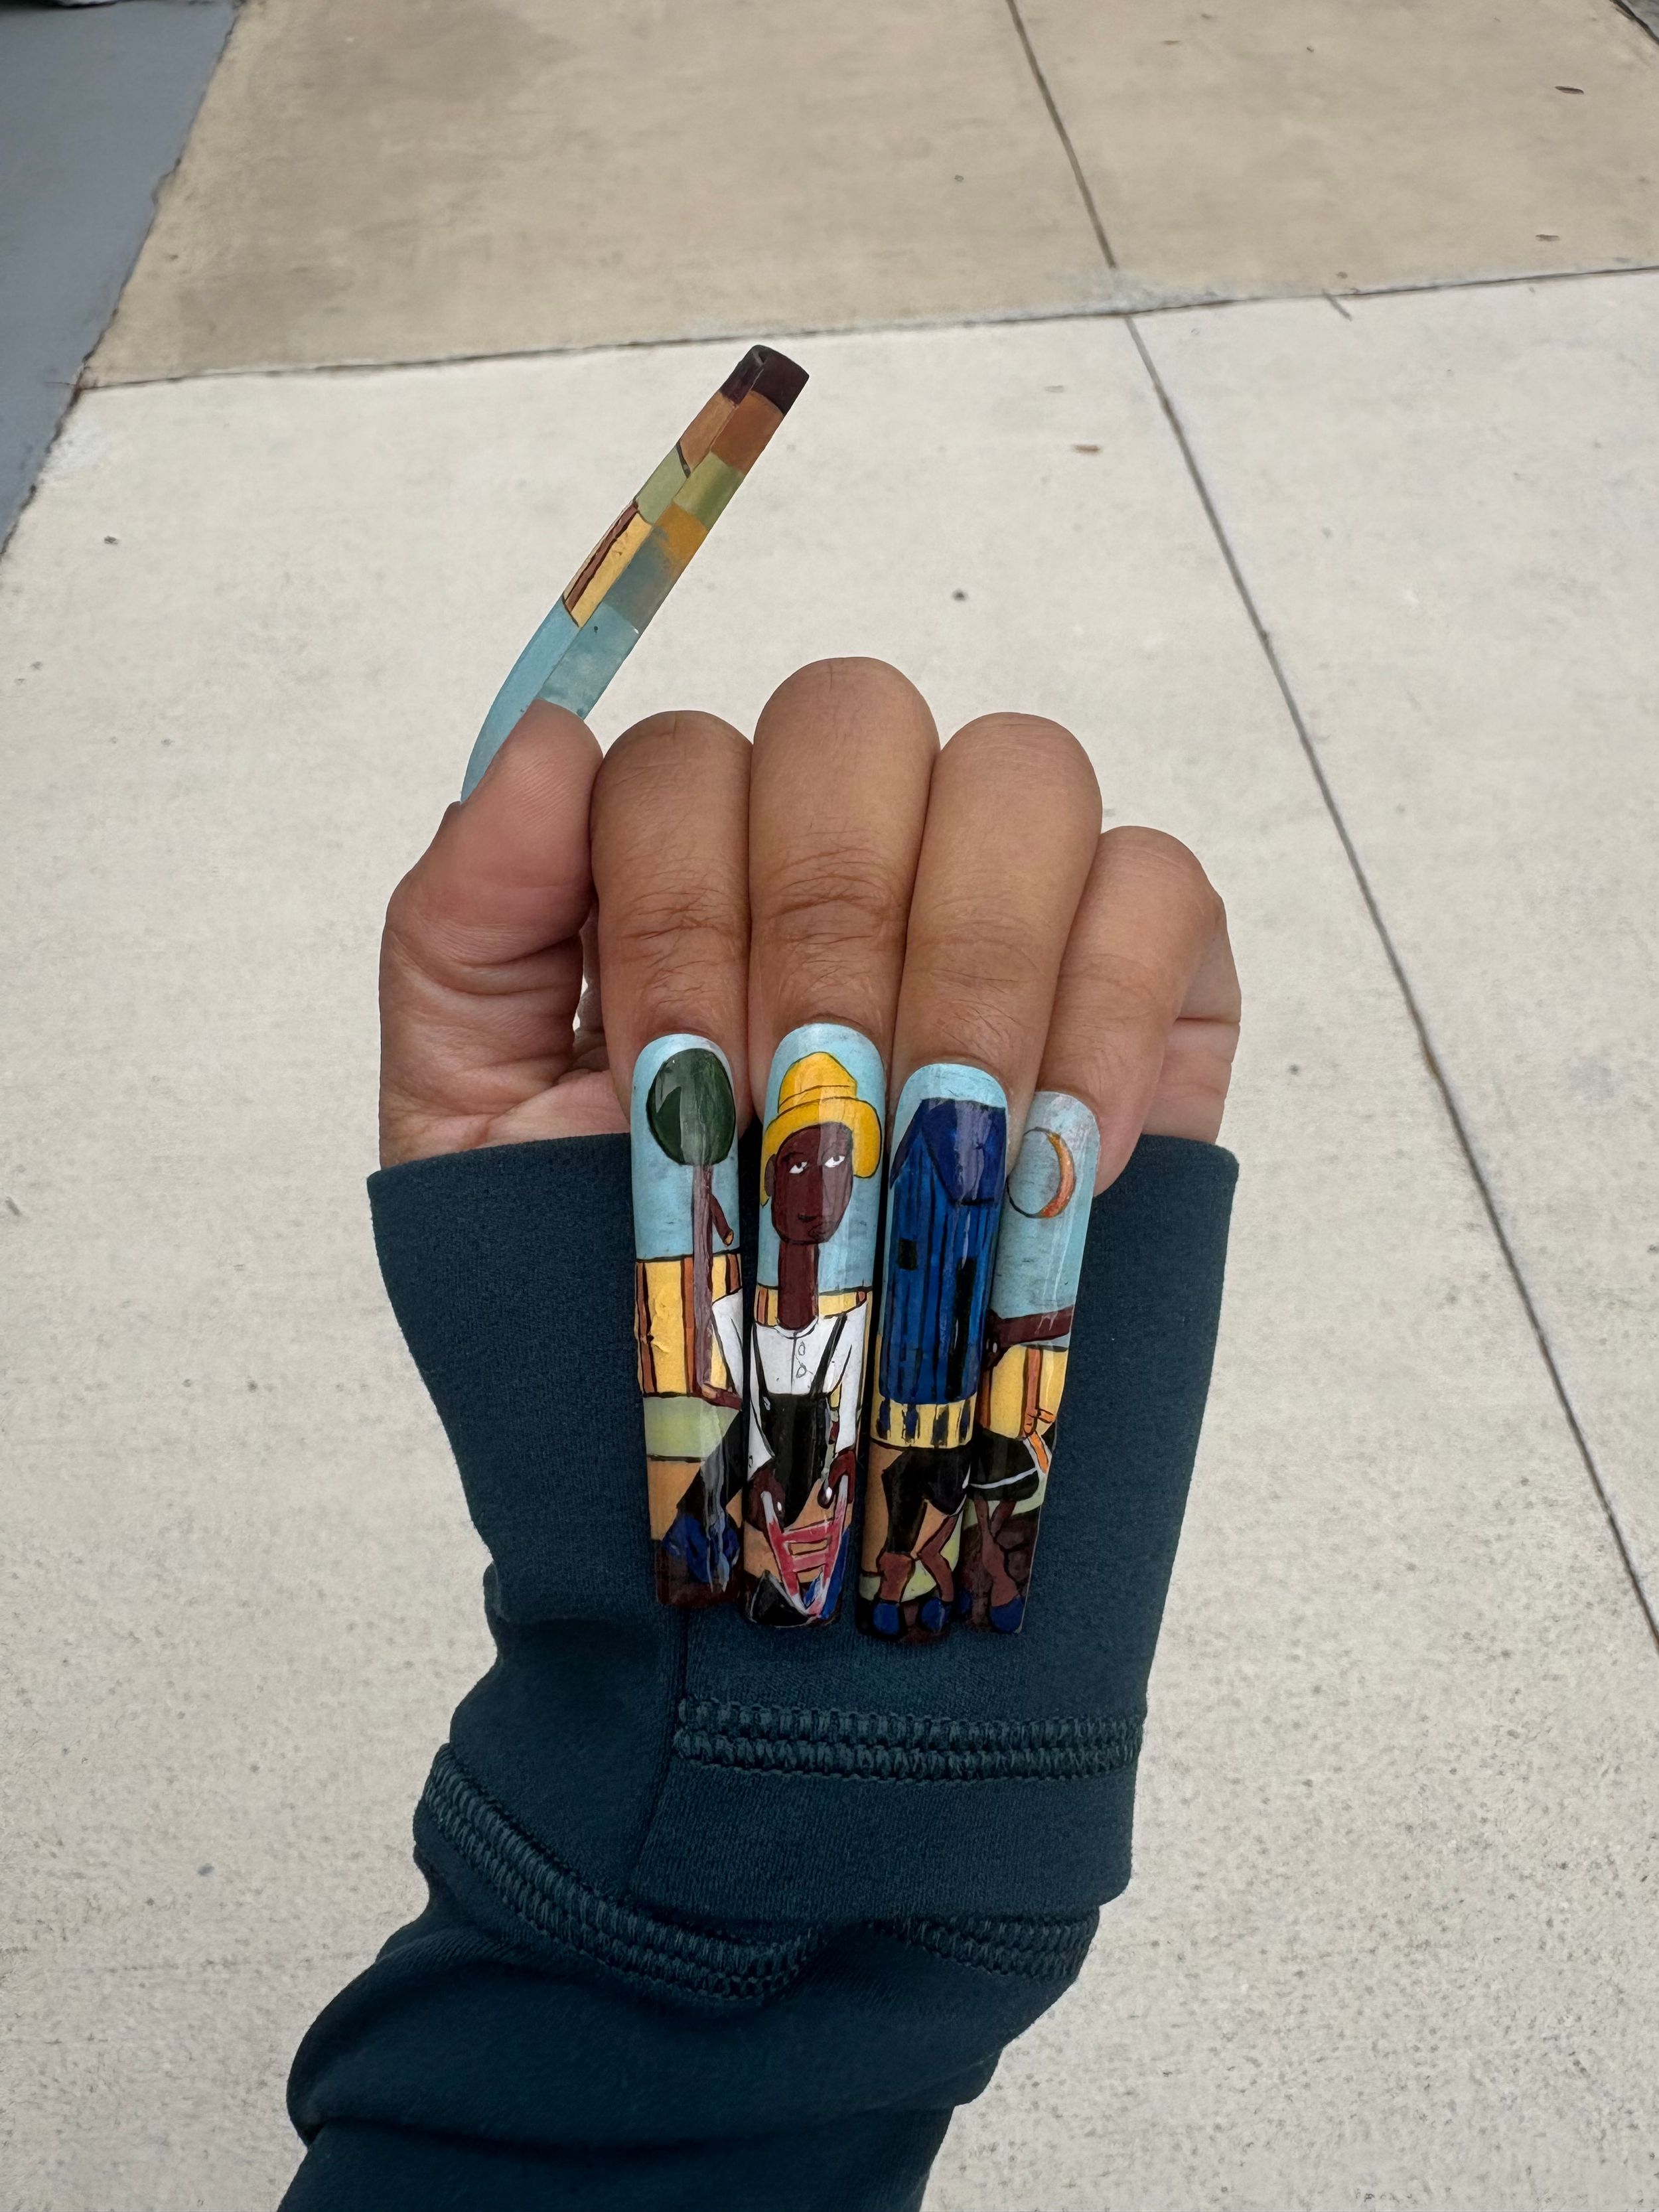
An Exhibition For Your Fingers
Press on nails are a fun and inexpensive way to enjoy the art you truly love. My nails are created with a person who uses their hands often in mind, and I pride myself on the durability and the beauty of my work, and I love nothing more than to share in the beauty. Sometimes it is hard to see the beauty in everyday life, especially as a stay at home mom, but you can always look down at your hands and find a little art. As always, thank you for coming on this journey with me. Mush Love, Renee <3


