
5 Tips to Elevate Your Set
Whether you are a new diy nail artist, or just looking for ways to elevate your nail game without breaking the bank, here are some simple but cool nail tips to bring your nails to the next level.
The Shape - Do you only wear one specific shape because it’s the only one you feel that makes your hands look good? Believe me, I’m the same way, however I found out that sometimes it takes me a full two days to like my nails once I change the shape! I used to be an almond girlie and thought square looked so clunky, but still I wanted a change. This was around the time the coffin shape became really mainstream so I decided to give that a try. It’s safe to say I was regretting my decision almost immediately! My fingers are short and fat and I really thought coffin accentuated the problem… until I didn’t. It took a few days and then the only shape I was wearing was coffin.. and now 3xl square is my go to. My point is, don’t be afraid to try a new shape and don’t be scared if you don’t like them initially, they may grow on you. It’s definitely a way to add some excitement to your routine, different shapes affect the way nail art looks so you may feel like a whole new person!
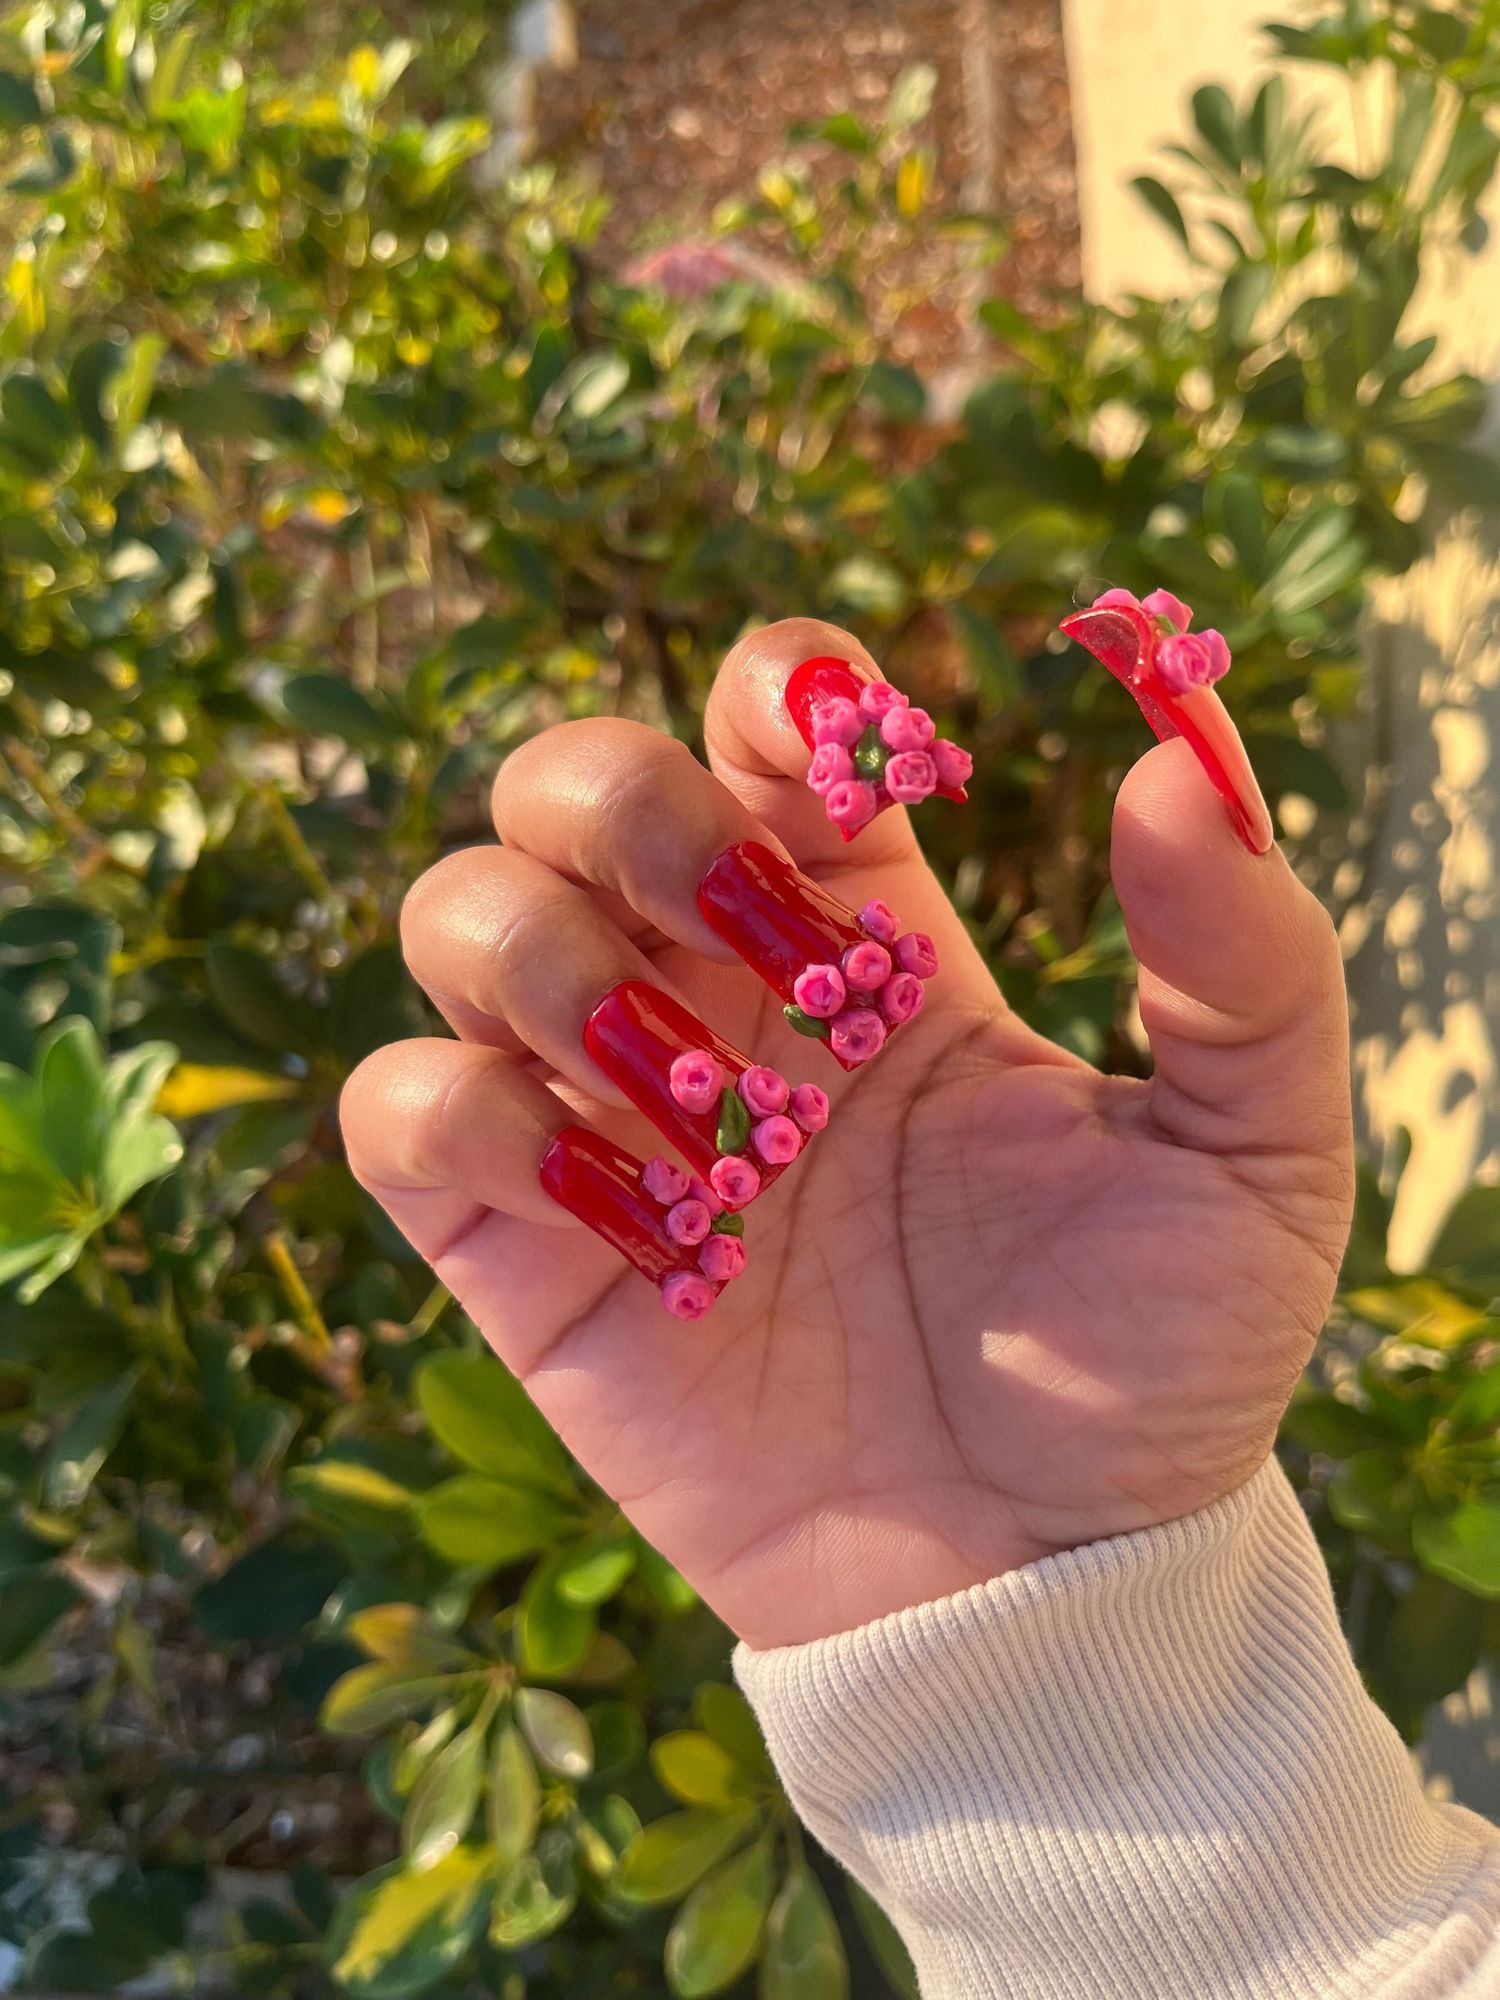
3D Element- 3D may sound a little scary and I must confess I have not tried using acrylic to create any 3D elements so you can just let out that breath you were holding right here! My absolute favorite thing to use is 3D mold gel that has the consistency of clay that cures under your uv lamp when ready. You can really let your creative side out and make anything you want. 3D flowers are my favorite (and the easiest), I’ve also made a bull and a snake so the possibilities are endless. Another fun and simple 3D element uses two products but it’s still ridiculously easy, no molding required. Use your gel polish to create a design, abstract lines, croc scales, and hearts are my absolute favorite. Now WITHOUT curing, cover your design completely in acrylic, don’t worry about neatness or dusting off the acrylic just put your covered design in your lamp and cure. After curing, use a brush to dust off your design and viola you have a 3D design with a fun texture! Gel itself is thicker than normal nail polish so you can make a little design using a little more gel than usual and that will give you a semblance of a 3D design. However when gel is too thick it will not cure properly so be sure not to make your design too thick, I recommend hearts and flowers for this design also. Croc print is also perfect for this design (but adding acrylic does make it next level).
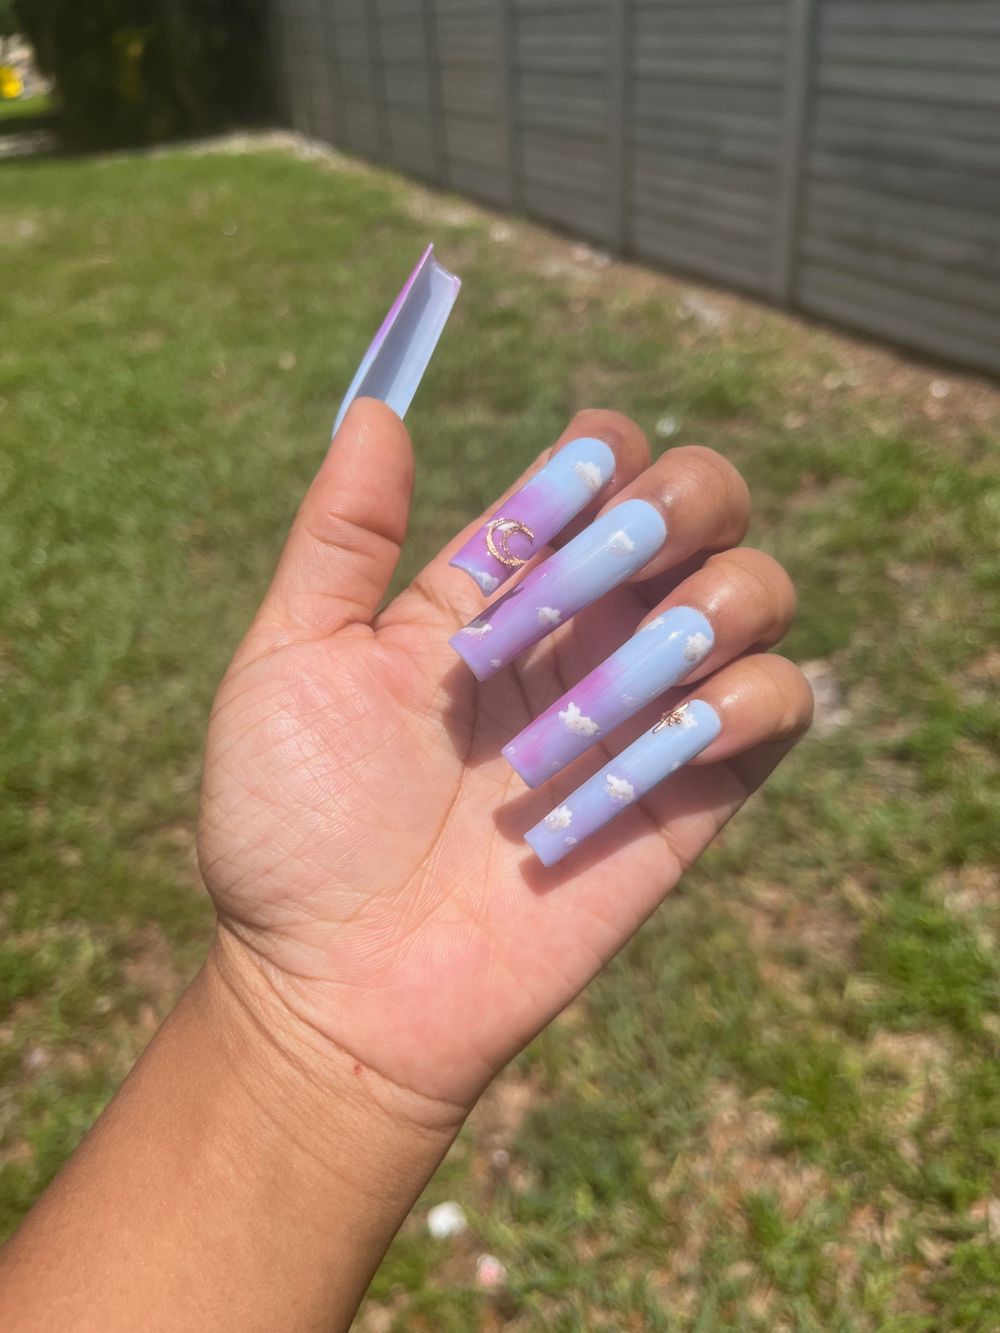
Color Changing Polish - Simple, effective, AND BEAUTIFUL! I’ve never met a color changing polish I didn’t like! I’ve made a set to look like the sky, I’ve had a set with disappearing flowers, and any set that uses color changing polish is really 3 designs in one. You don’t even need a design for this polish, or you can spice up your French look! Get creative, you can do anything.
Design Under The Nails- As an artist who loves my customers, I first started doing designs under the nails for my repeat customers. I would paint 10 tiny hearts underneath the nails as a surprise… It led me to thinking about how you can have an entirely different nail set when you flip over your hands. I started with the nails from my previous blog post, but I also didn’t want to do elaborate designs all the time! A lot of my sets consist of a shimmery gel bottom, so that every movement of your hands is drawing attention and that by far is the simplest way to spice up a set. Paint a layer of your color of choice before you continue design your set as regular. Red bottom nails are super popular so you would paint the red layer first, (I like to do a layer of matte coat second, I’m not sure if it helps but it makes me feel better!), and then paint your black coat making sure the red is completely covered. Cover in gel top coat and cure.
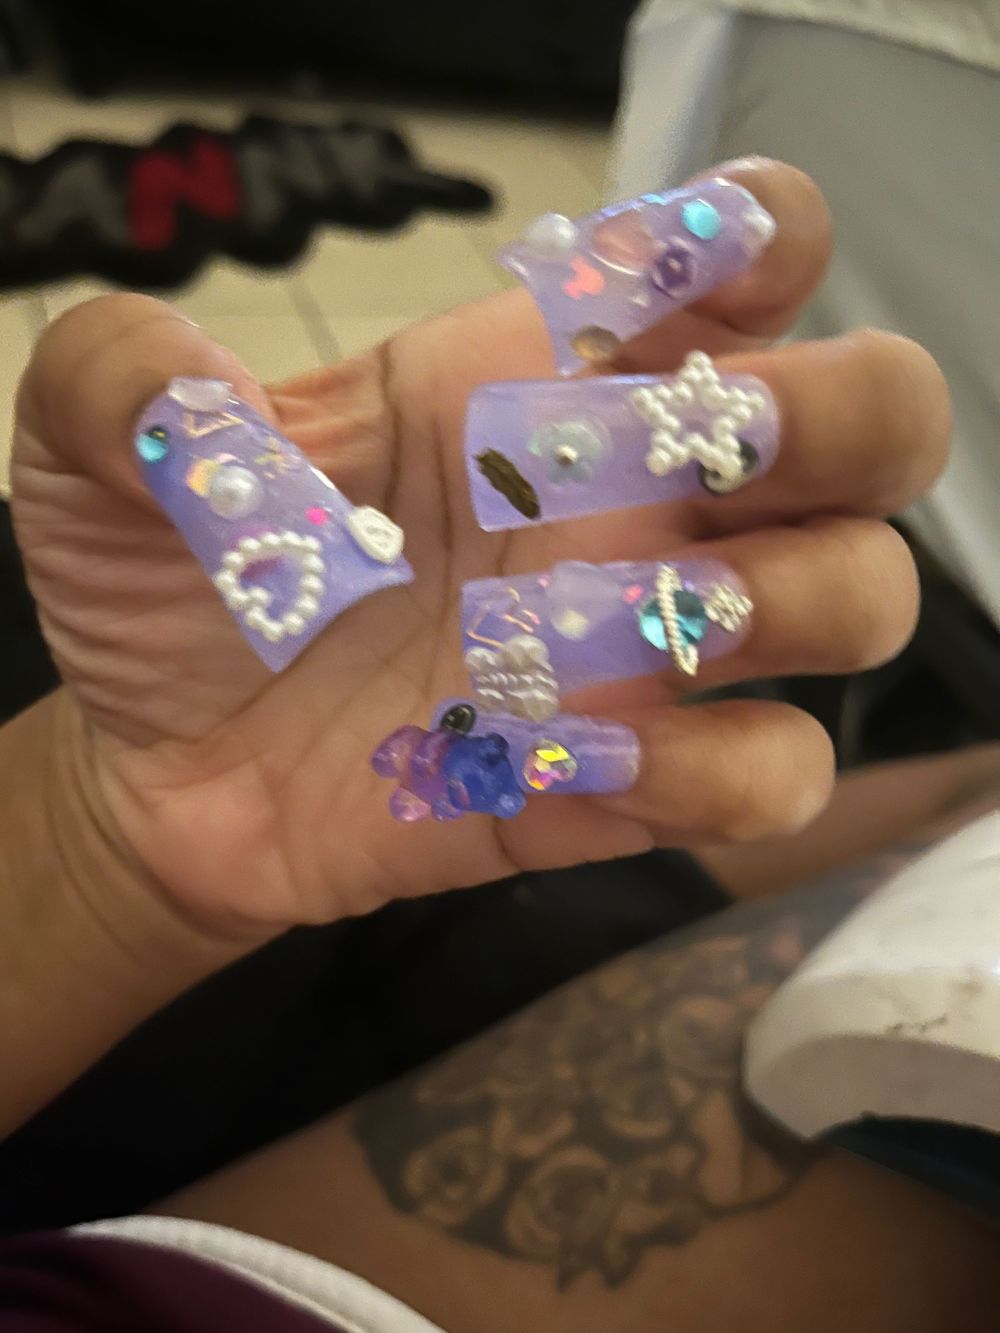
Rhinestones/Charms- Rhinestones will bring any nail design an element of elegance. Now personally, I cater to the people who want bomb nails without paying astronomical prices because I wanted bomb nails without paying astronomical prices! Let me be the one to tell you, regular rhinestones bought from Amazon are just as pretty and shiny as Swarovski and will not hurt your pockets! At xPRESSive nails we care about design, art, and retention, not about how expensive your nails can be. I would suggest you look up rhinestone placement on Pinterest, but you also can never go wrong with placing them evenly spaced out on all fingers. Junk nails are really popular right now and you can also get an assorted mix of charms and go crazy!
Use these tips to help elevate your nail looks! If you’re feeling risqué, mix and match these elements or try all 5! I definitely have. Click the amazon link for the products listed in this article (all of which I use). Feel free to send me pictures, ask for tips and tricks, or any clarifications. All nails are available in my Etsy shop. Thank you so much for reading and happy designing!


