Beginner Basics
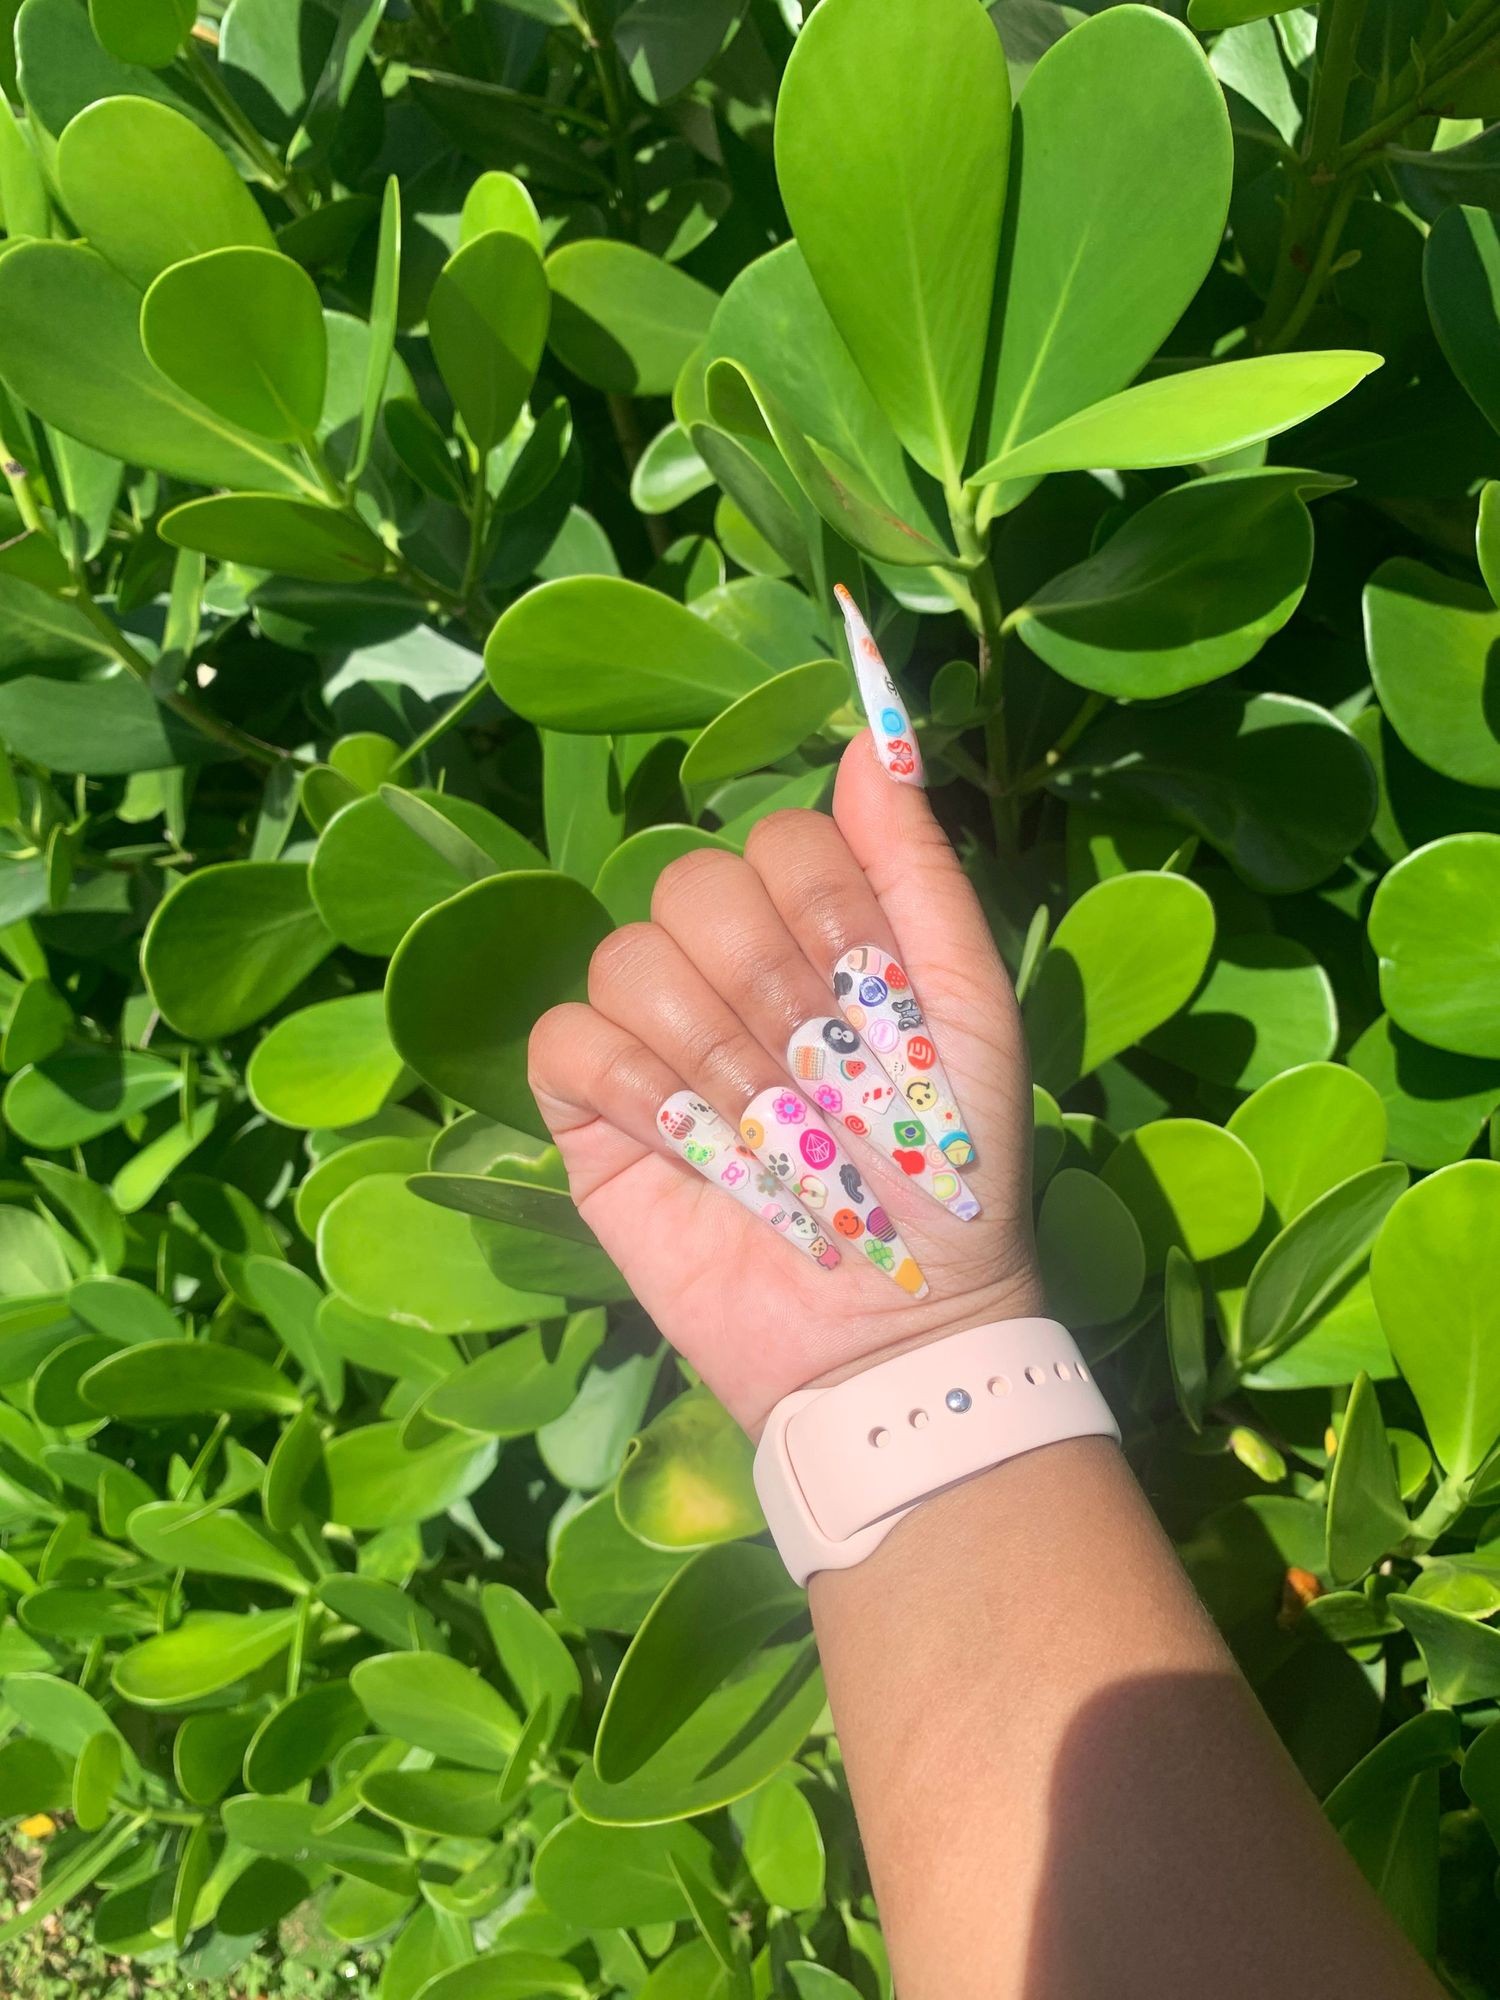
One of my favorite things about anything is that you can decide to do it, and just do it! I'm sometimes surprised by how far I've come and how my vision has changed but no matter what, the basics of nail art is still the same. Stick with me and I'll give you some tips and even an amazon list to start your very own nail art journey and possibly start your own business. The photo above is my very first attempt at making press on nails. (Not the full sets, I may NEVER share those photos!), as you can see I was ambitious, but I am way more refined and truly all you need is practice.
I watched so many YouTube videos and read so many blog posts on how to start with nail art, but all I can honestly tell you that no matter how many videos you watch, working with whatever product of your choice is best. You cannot understand the brush strokes, or consistency until you either have a very dry bead or a ridiculously wet runny bead and THEN you will realize what your favorite YouTube artist means.(I remember saying to myself, "what does she MEAN pat the acrylic? HOW do you pat acrylic?!" *insert crying face emoji*). And truly it does look so easy, and sometimes it is, but practice is what works here. One beginner tip I can give you is that less is more. Get familiar with working with cover acrylics (acrylic that does not need encapsulation), and using regular gel nail polish before you start purchasing a plethora of nail charms and rhinestones and foils. I have enough nail art charms, stickers, glitters and rhinestones to stock a nail store and I just continuously buy the items that are listed in my link tree. As a succesful Etsy seller with a young store and 4.8 stars, I can give you the tips on starting your own business, or even doing your own nail art as a hobby because it is very expensive these days.
- Decide your products- decide if you will work with acrylic, gel x, builder gel and purchase it. You will also need monomer for acrylic (I'm unfamiliar with gel x but I know there are activators with different products so make sure you have that for your medium!), acetone, nail polish, and of course your tips of choice. (If you purchase through the link I make a small commission).
- Set up your work space- You need a space clear from clutter because if you're anything like me you will probably get messy while you work. You'll also want to set up a folded paper towel so you can continuously clean your brush.
- Begin!- The only thing to it is to do it! Set up your full cover nail tips on your stand (cut nails to desired length), and apply acrylic to each nail. When the acrylic is dry, file until you're satisfied with the shape (keep your hand as straight as you can while filing to create a crisp shape!), cover with gel top coat and cure! I suggest to find your favorite video, and watch while you work. Doing that helped me immensely and I still watch videos on applying acrylic and nail art to refine my skill.
- Apply your press ons- I suggest you wear your own nails as your customer would before selling your nails. Also, be realistic about your pricing, you don't want to charge too much especially starting out. Observe your nails for retention, if your designs chip after a few days, etc. Create a name and social media page and start posting. I also recommend to create an Etsy shop for a fast and easy way to get your nails out there. Feel free to email me to ask for help.
Don't feel discouraged if your first few sets come out a little wonky, continue to practice and in a short time I believe you will be opening your own press on store!
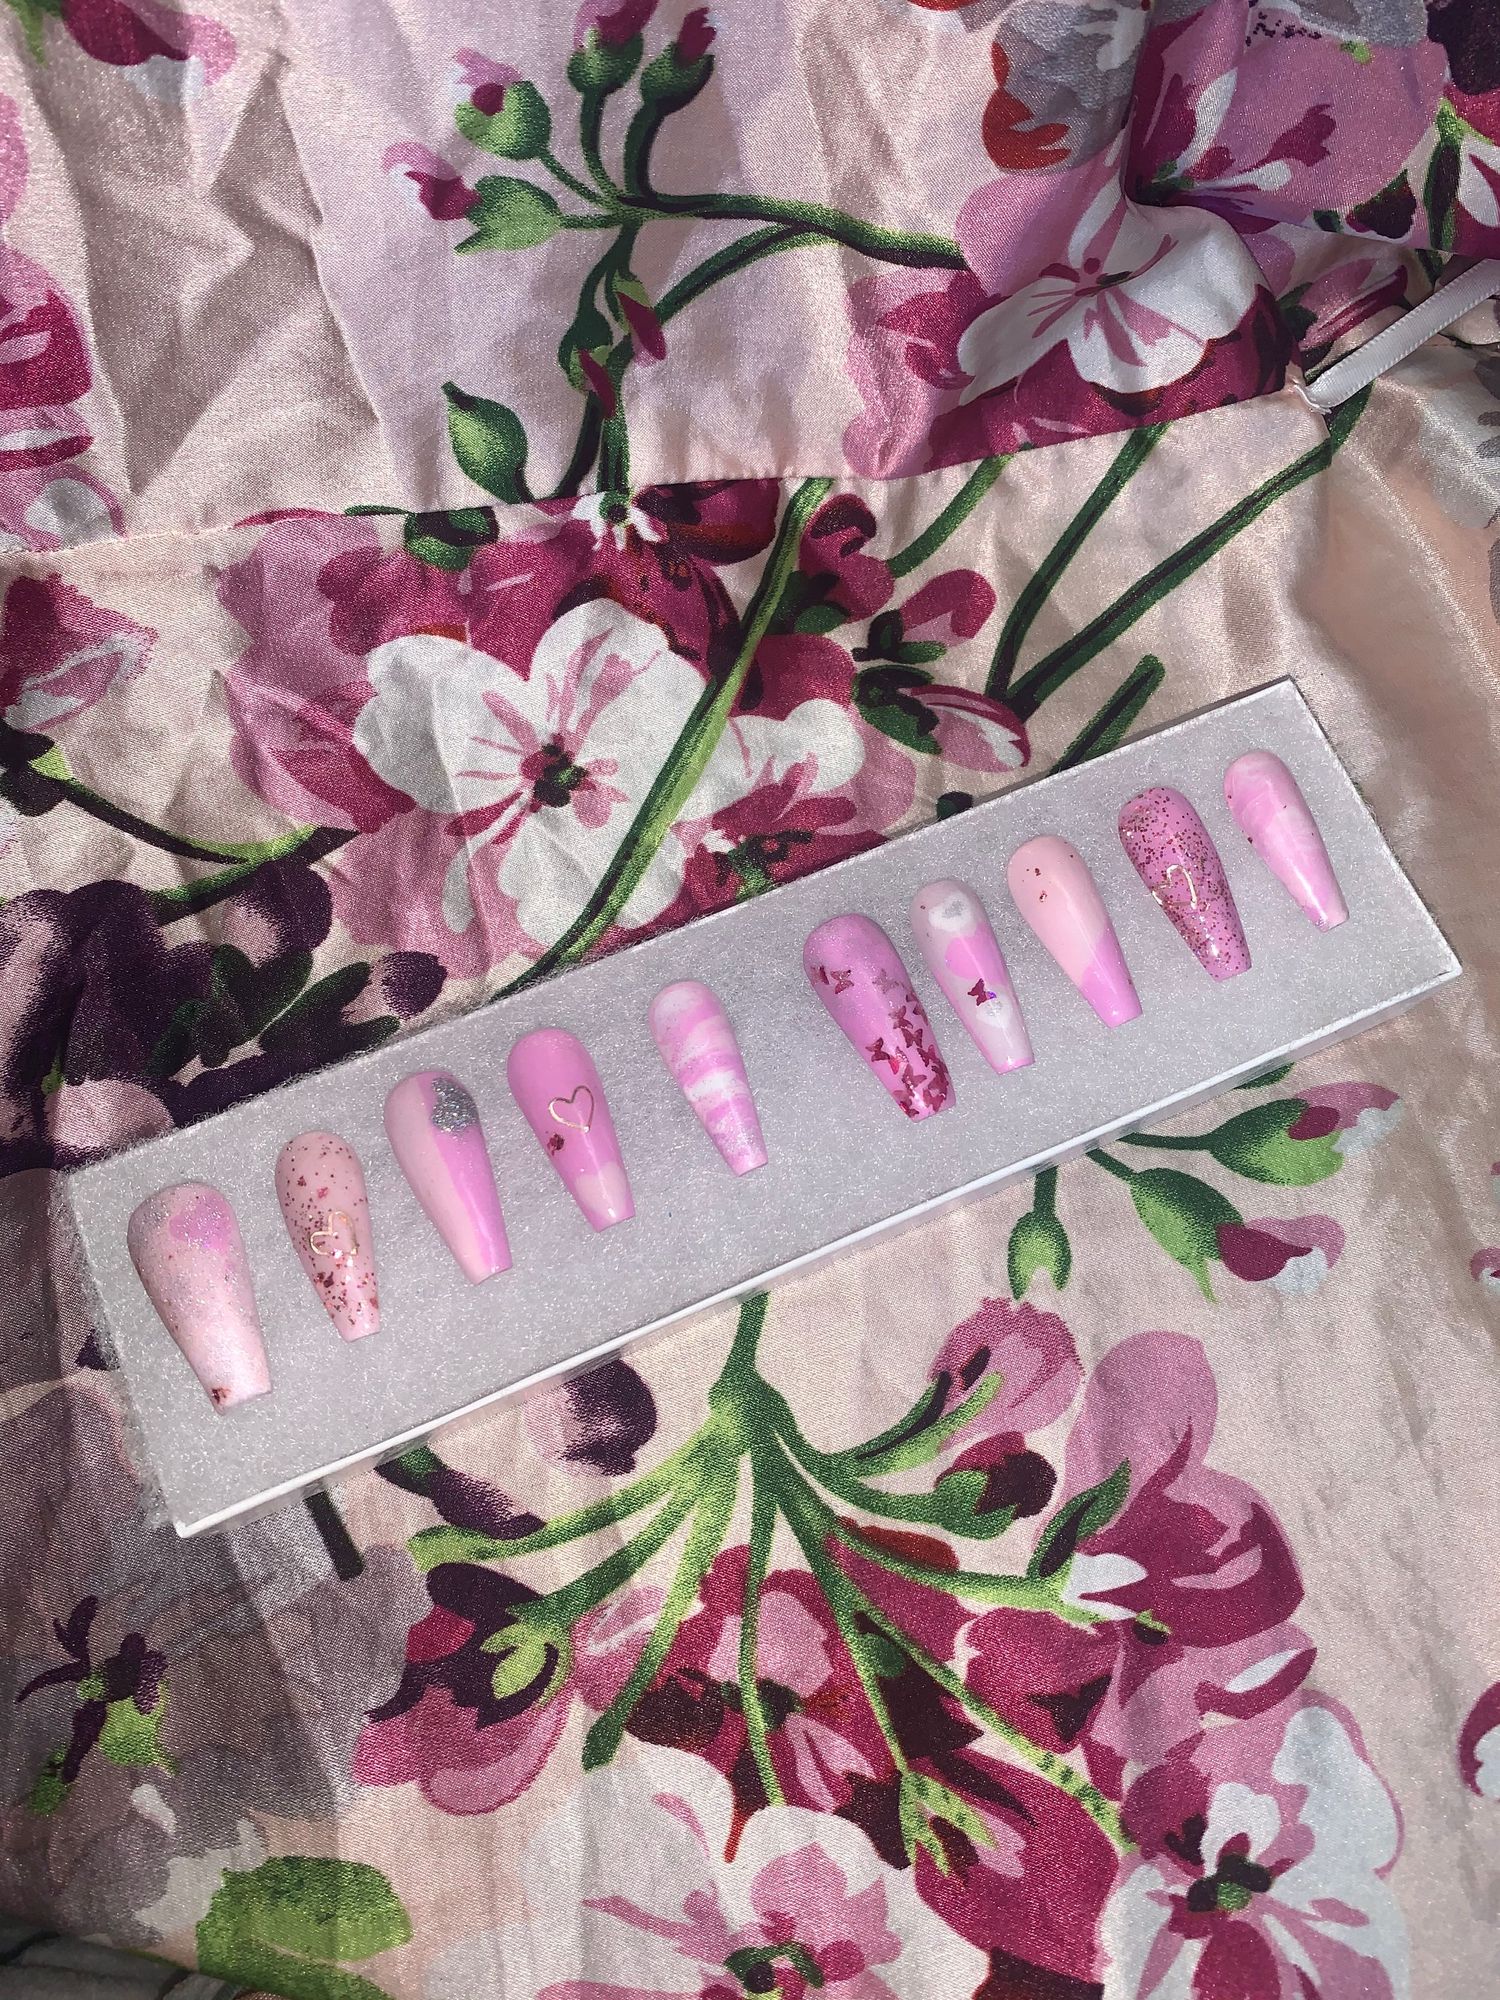
One of my earliest sets and packaging

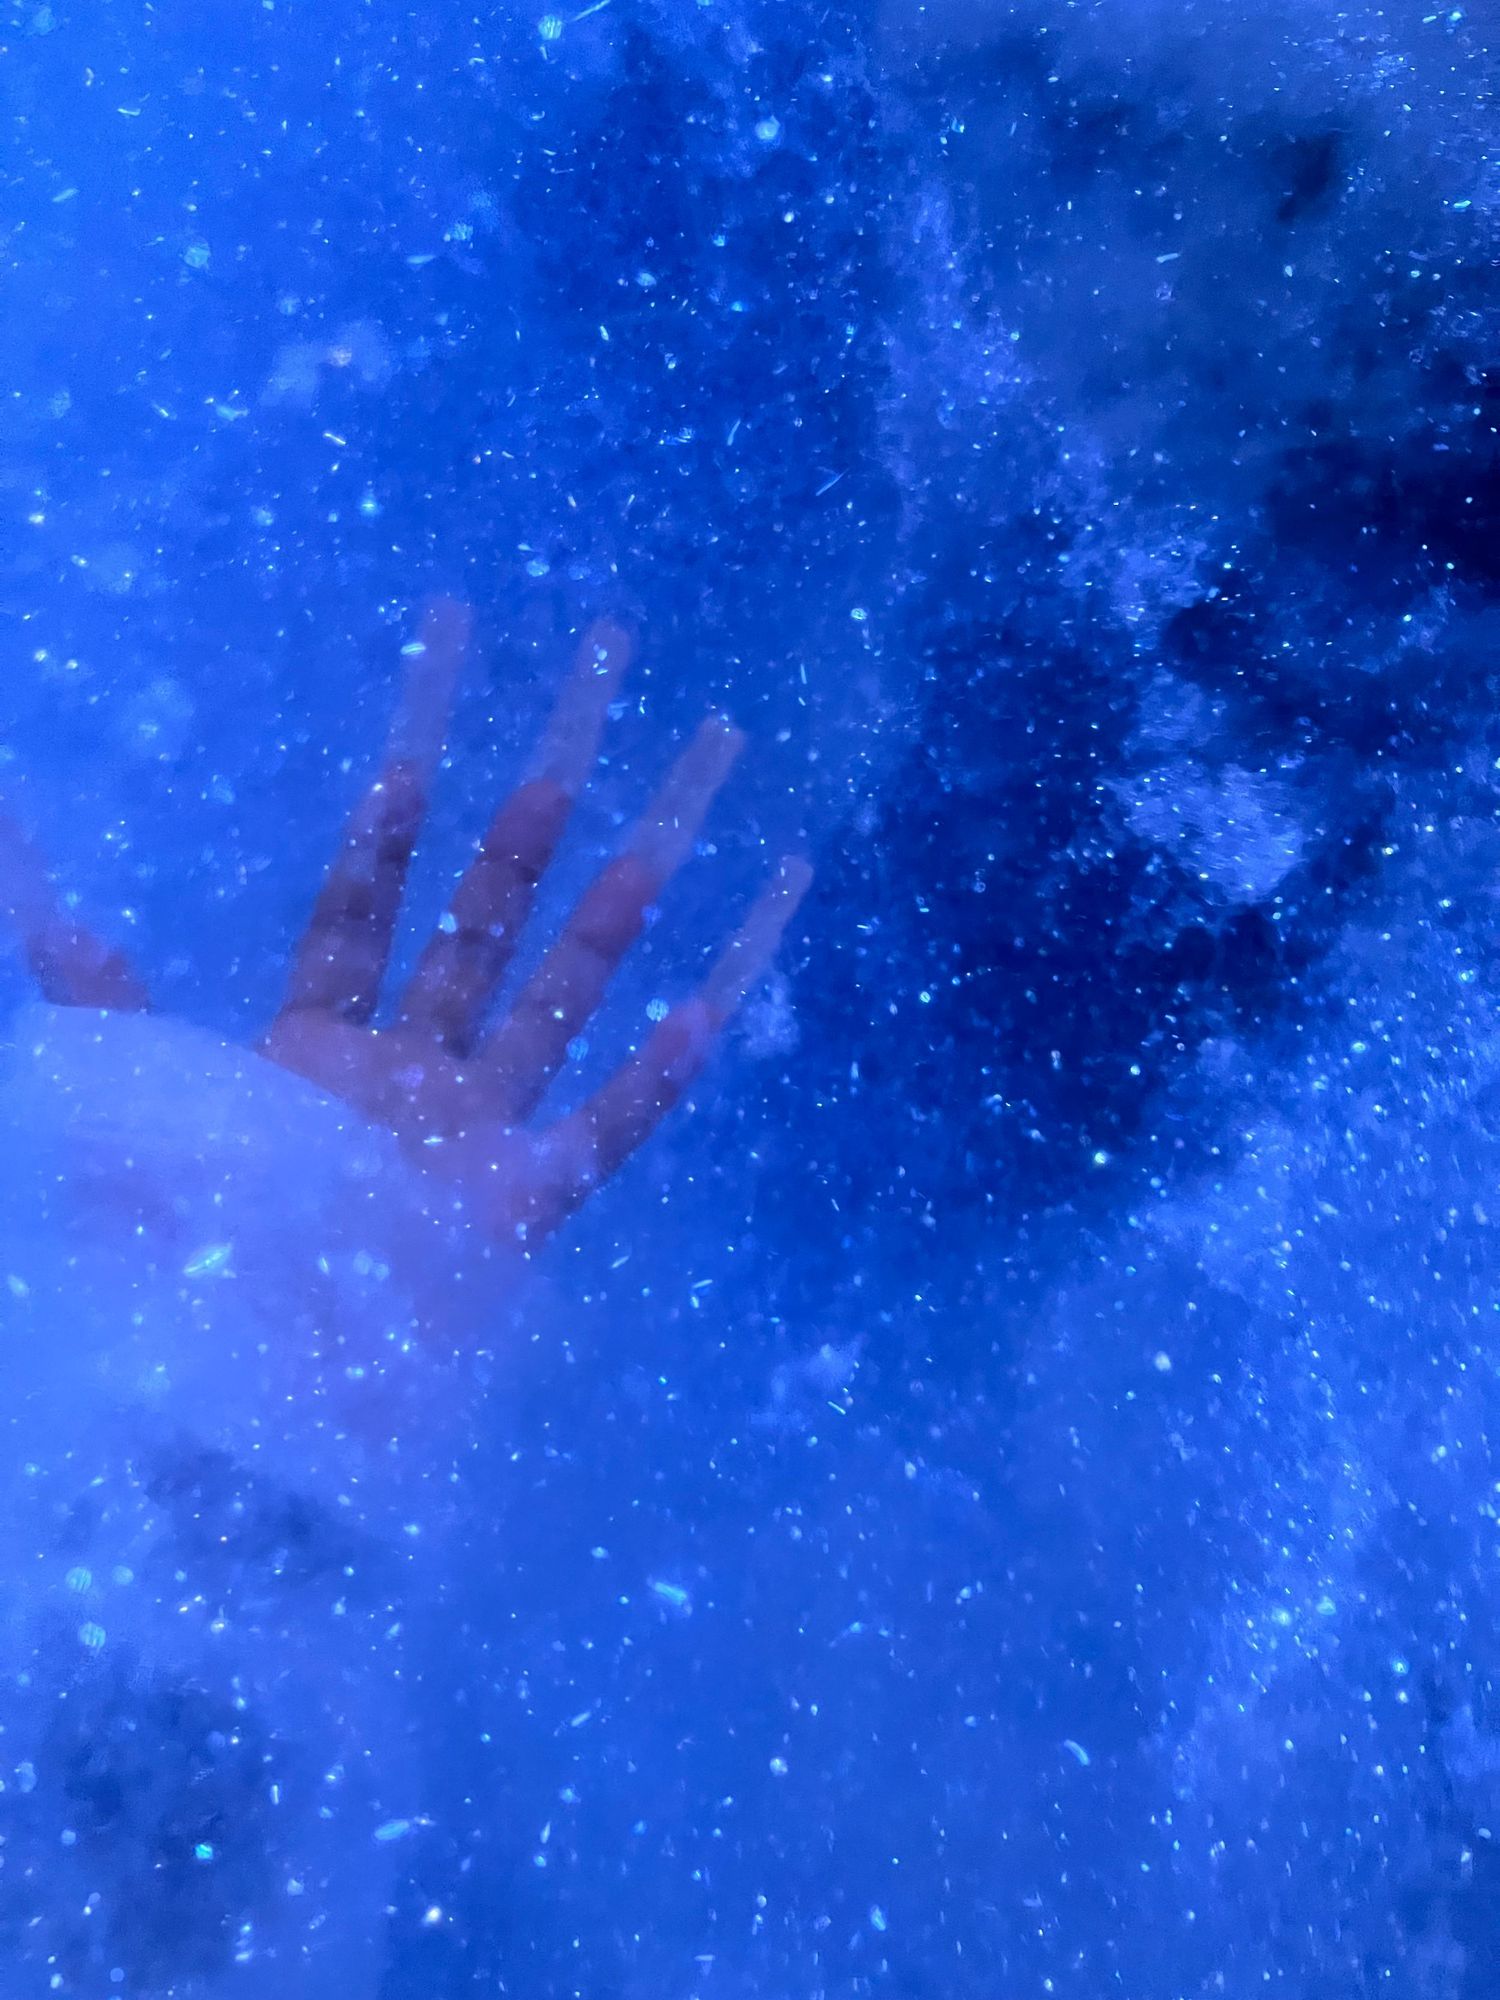
The absolute FIRST set for someone else

These make me cringe

These do too

